Thanks for joining our beta program, we really appreciate it.
Below you will find a guide to create your team and start running retrospectives with your team.
Creating your account
- Visit https://bit.ly/3RrWZX5
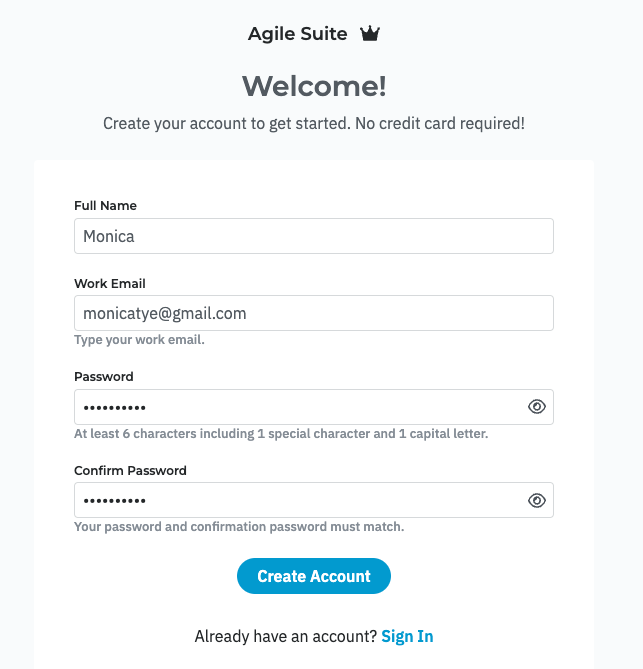
- You will have to create an account by providing your name, email, and a password. Click on "Create account" when you're ready.
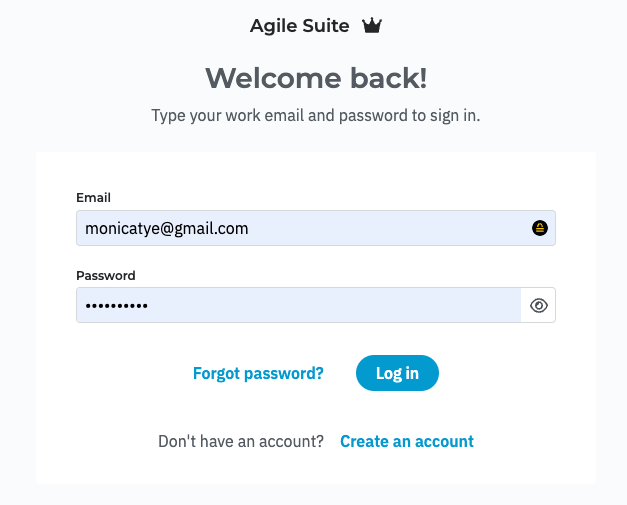
- You will now have to log in.
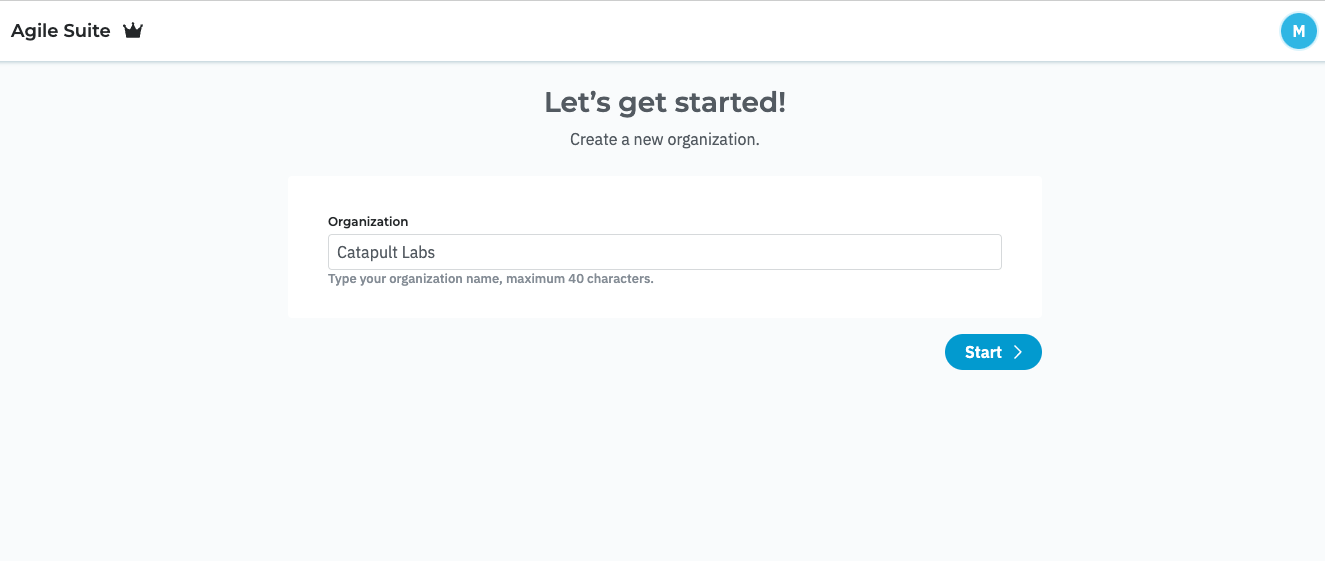
- Create your organization by naming it. Click on "Start" to continue.
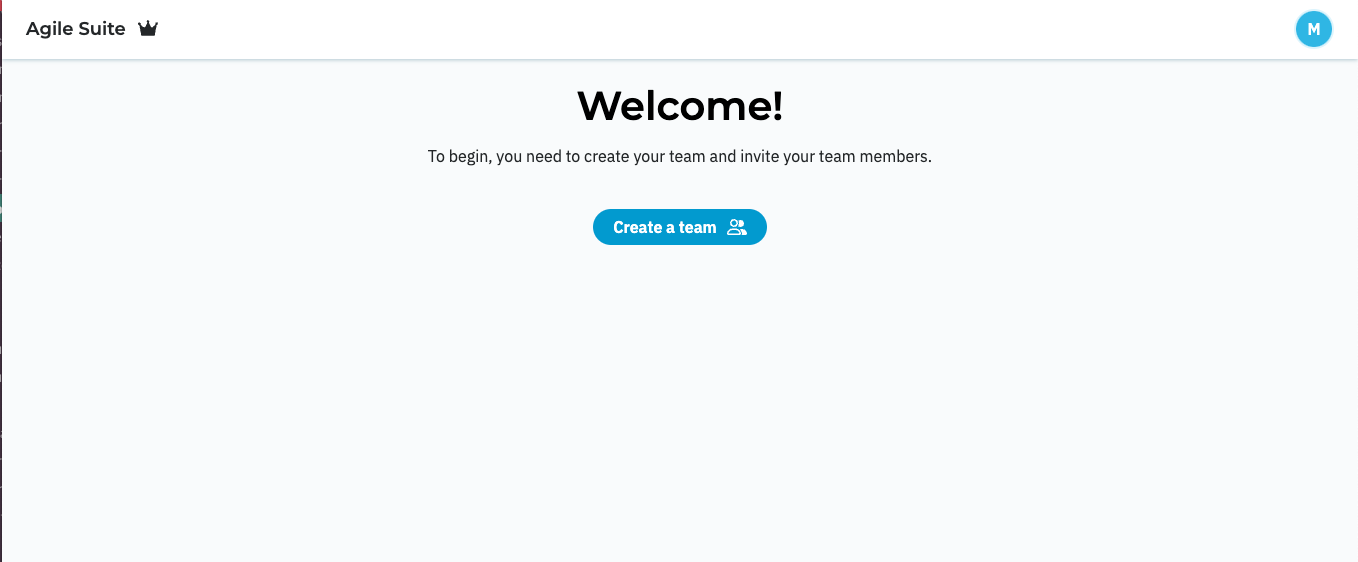
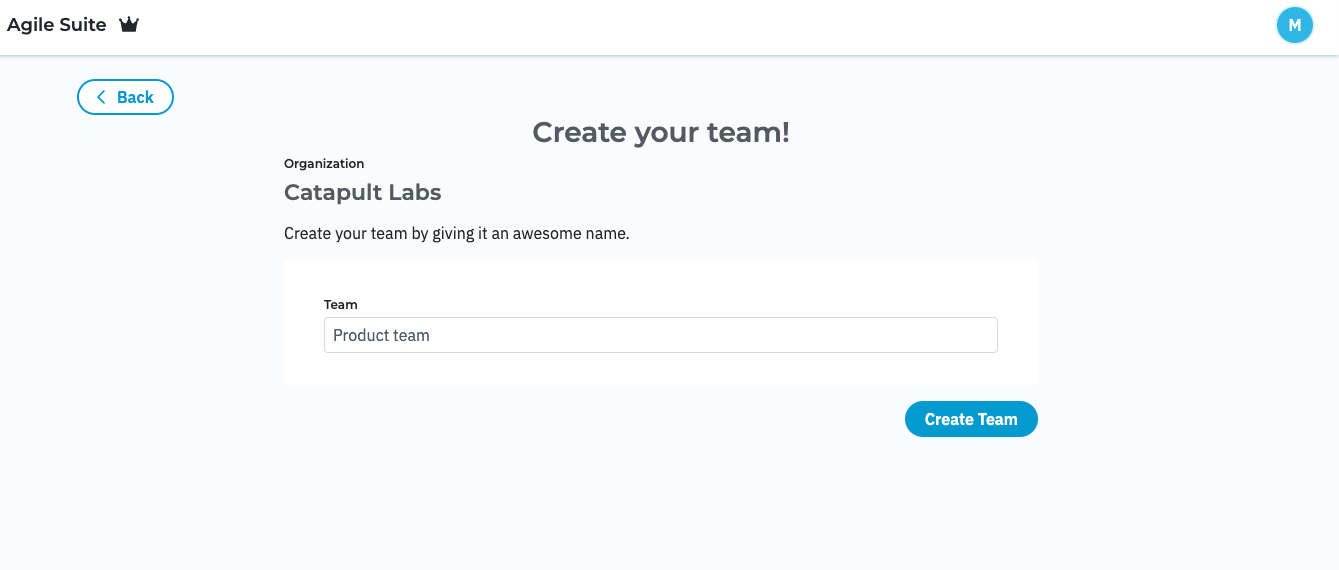
- Create your team to start collaborating.
- Provide a name for your team and click on "Create team"
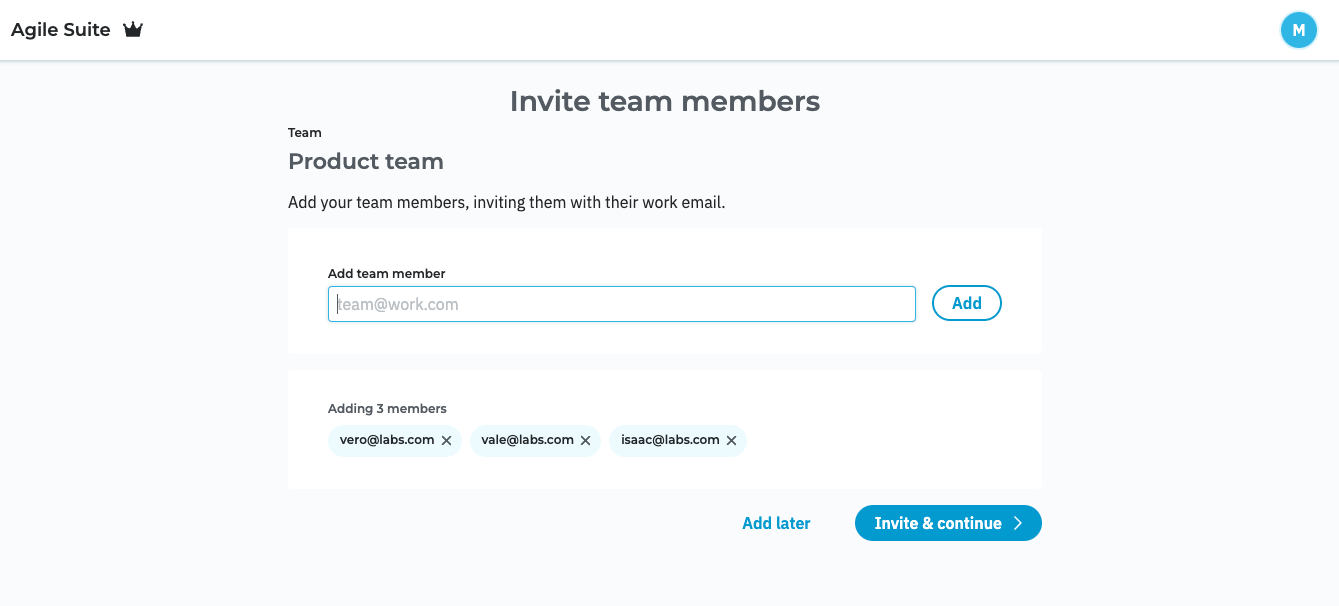
- Invite your team members to your newly created team. Type in each of their emails and click on "Add". Once you've added all your team mates click on "Invite & continue".
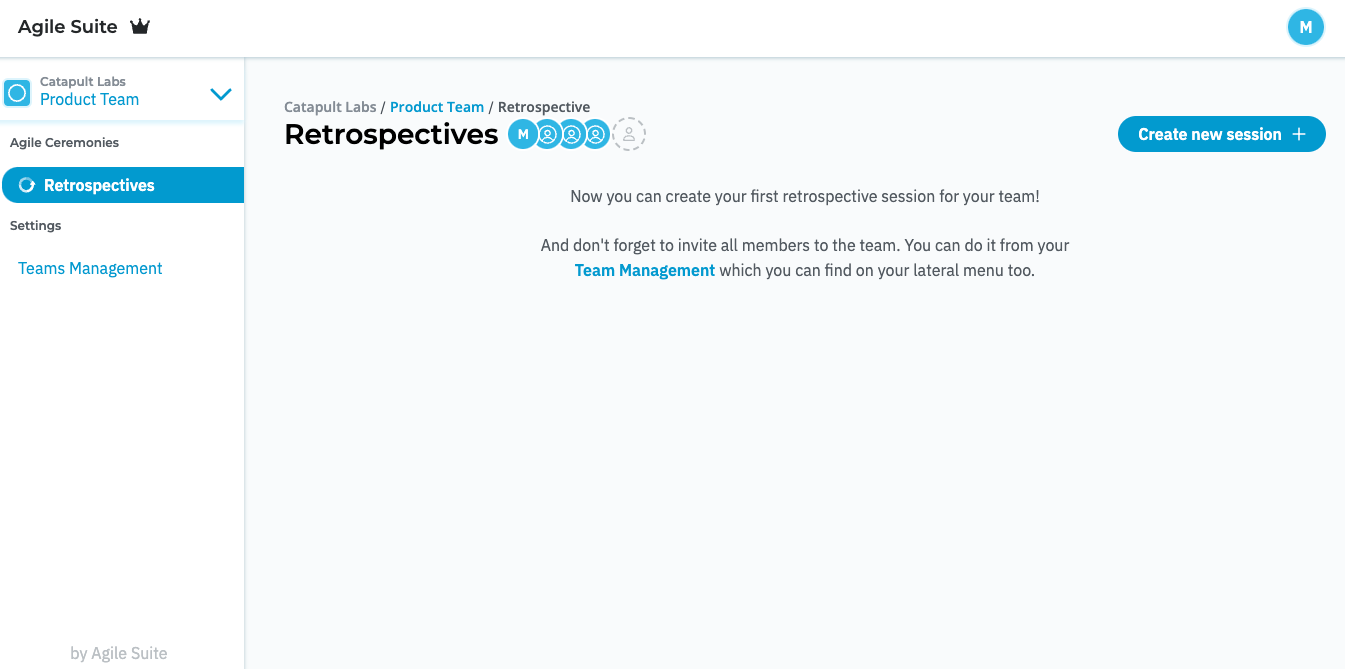
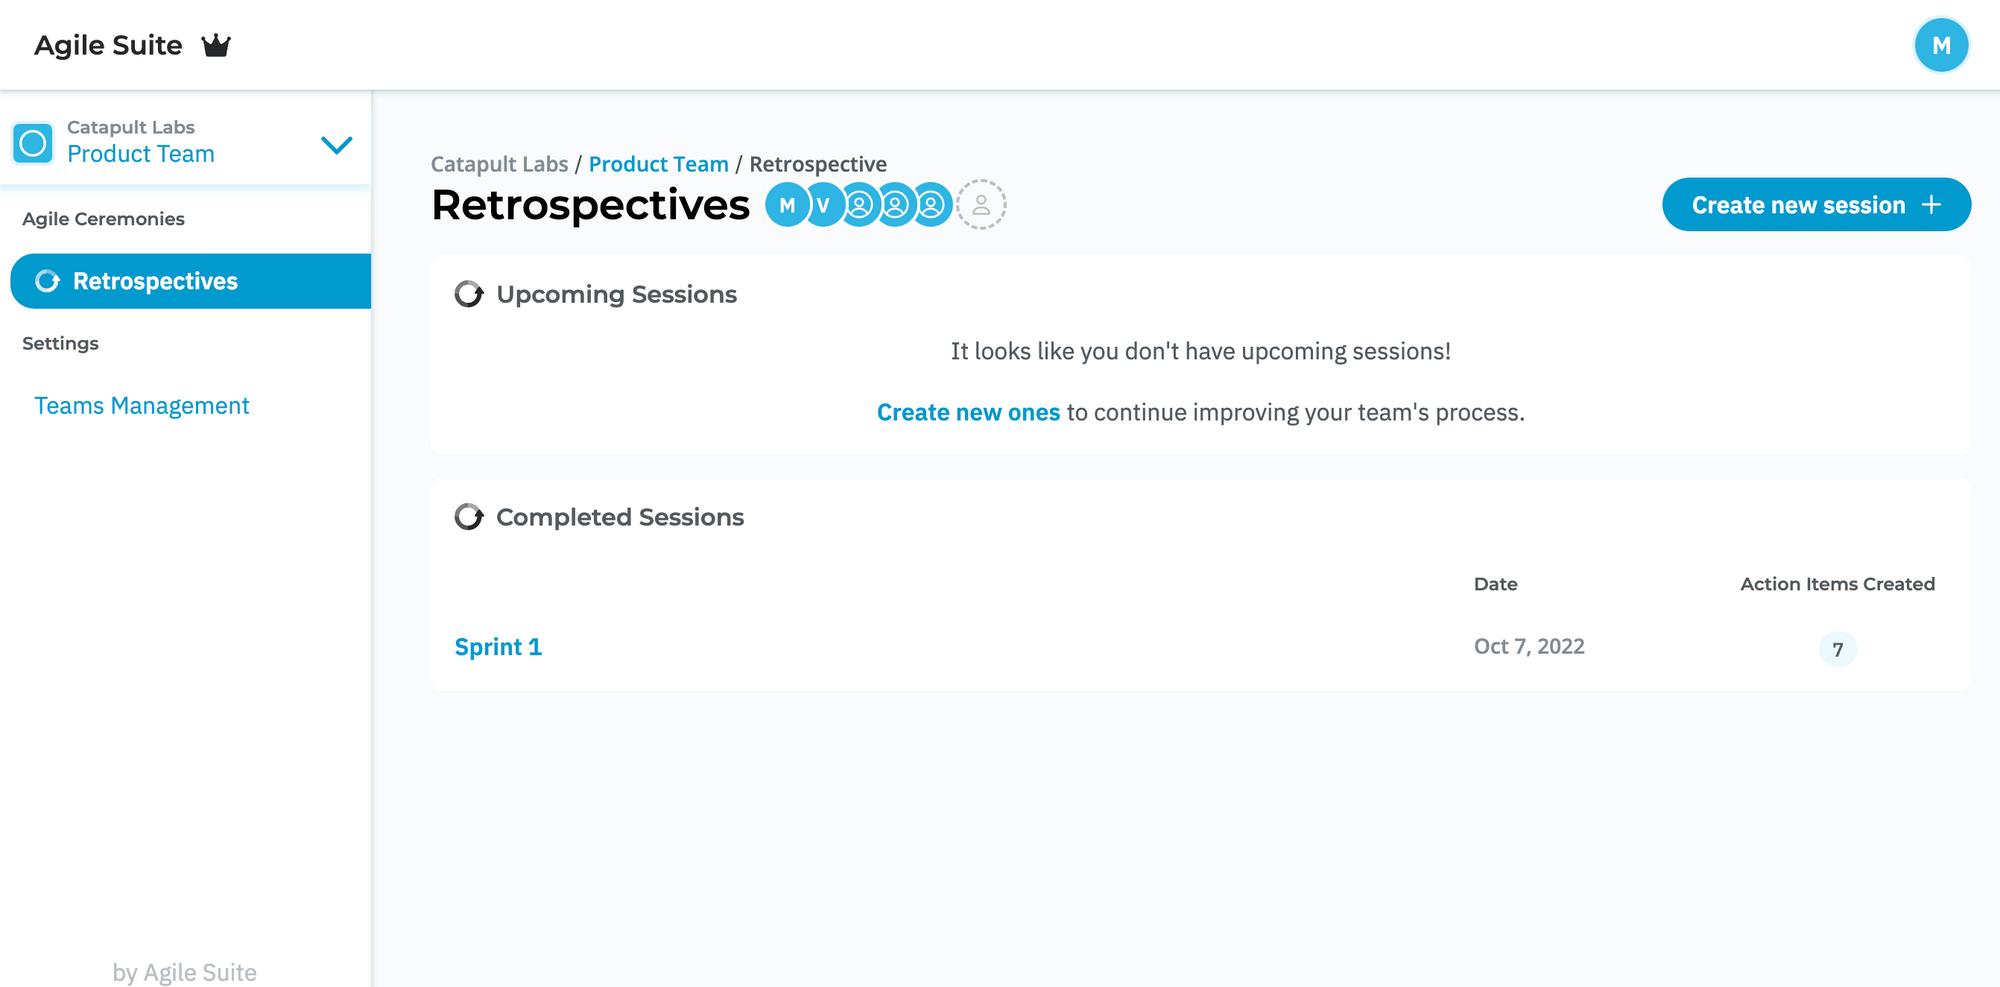
- You will see your Dashboard. Here you will see all of your ongoing and completed retrospective sessions.
Creating your first retrospective
- In the Dashboard, click on "Create new session" to configure your first retrospective.
- Provide a name for your retrospective session.
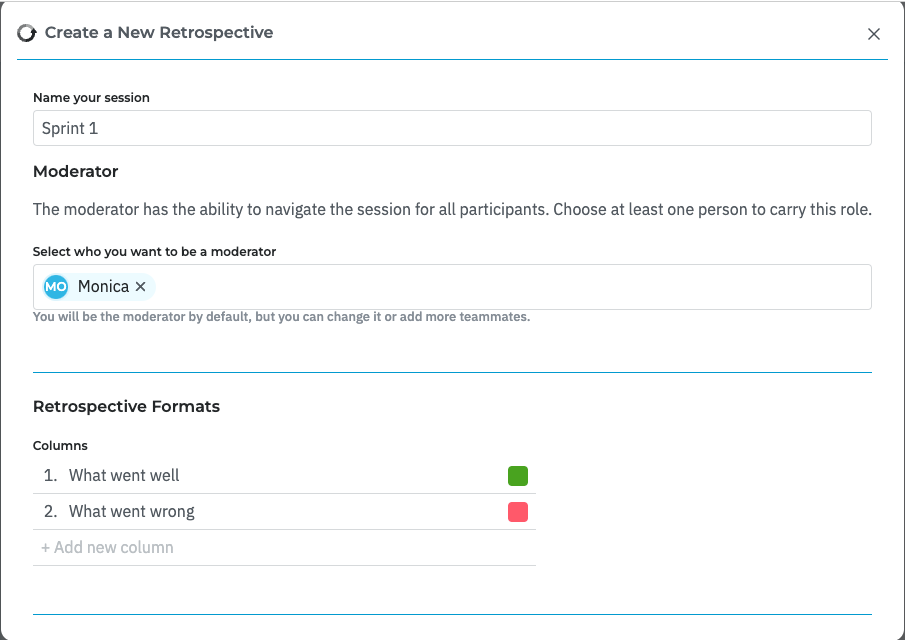
- Select who will moderate the session. You can add 1 or several moderators; they will be able to start the session, move between its steps and finish it.
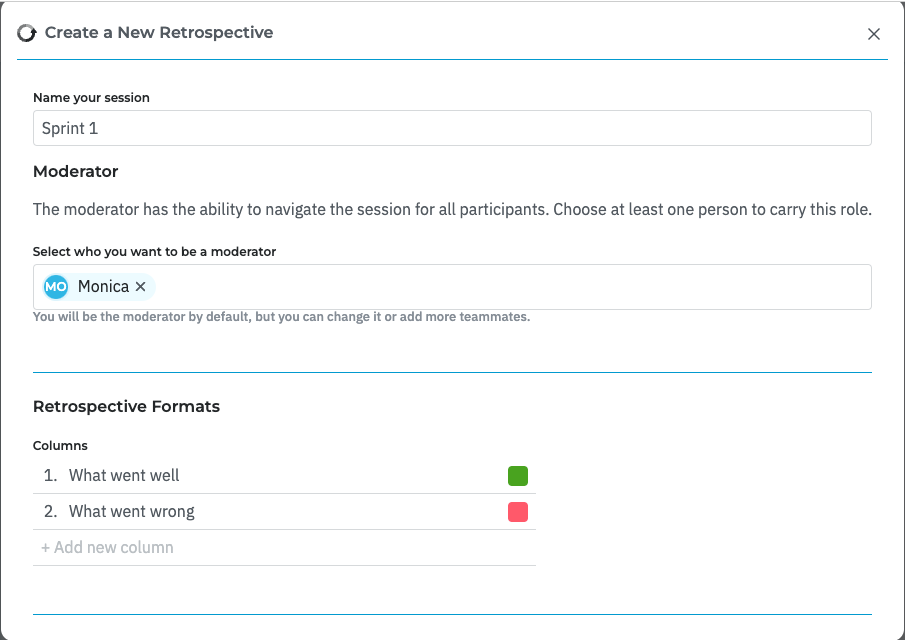
- Define the format of your session. By default we provide the format "What went well / What went wrong", but you can edit it and add more columns.
- Select between a regular session where you see which participant wrote each idea or an anonymous session.
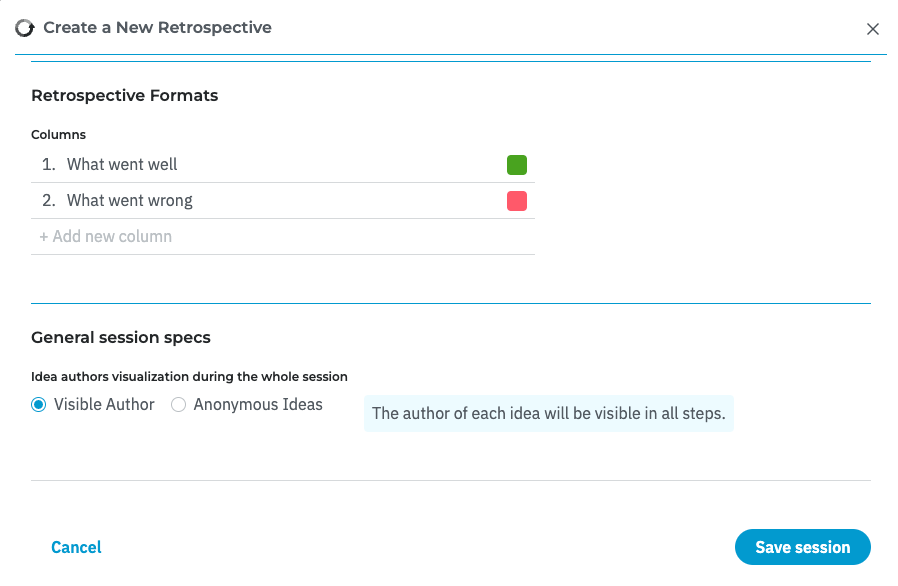
- You're all set! Click on "Save session".
- You will now see your session in the Dashboard.
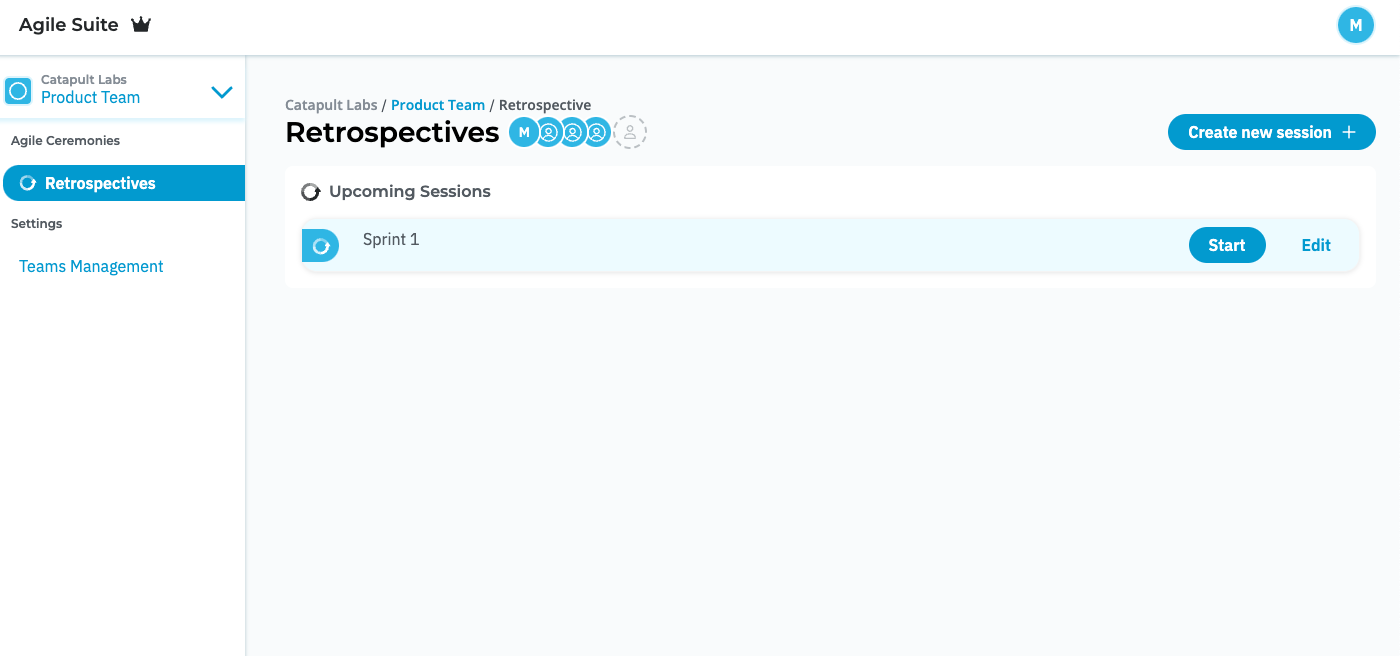
- You can always click on "Edit" to make changes to its setup.
Running your first retrospective session
- To start the session, click on "Start".
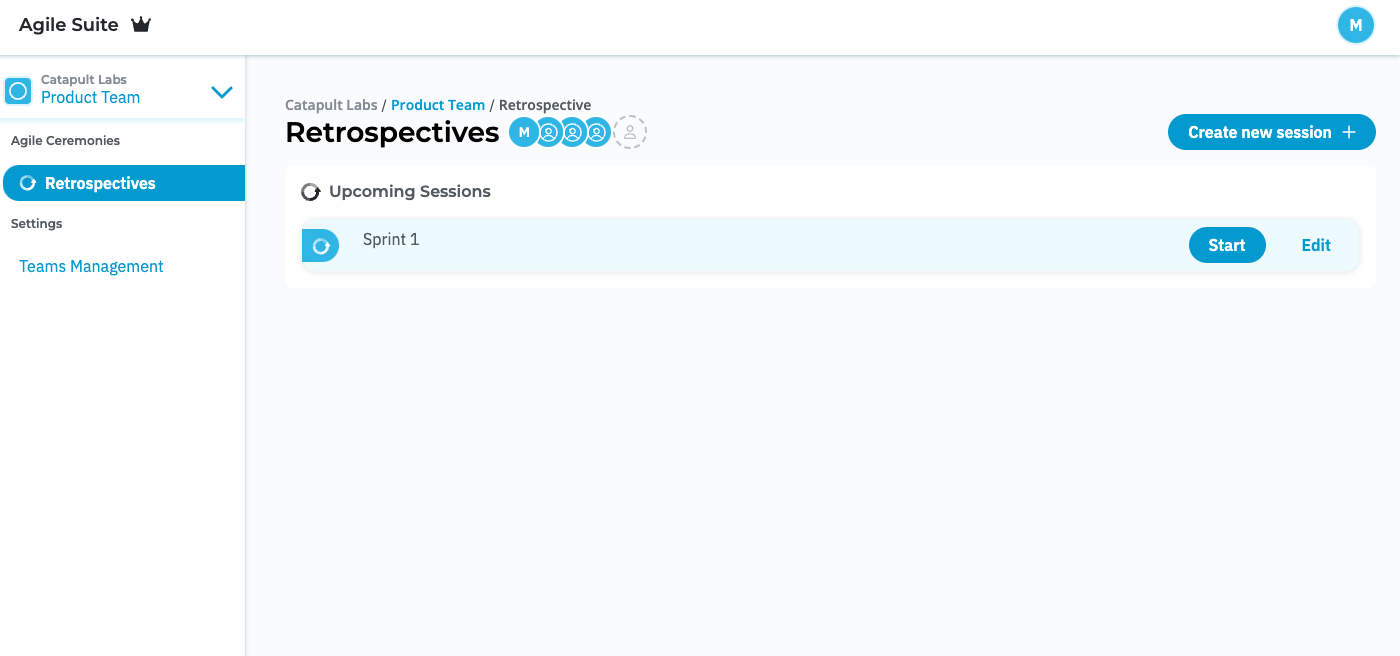
- You will arrive to the Waiting room, where you and all other participants will see details about the session before it begins.
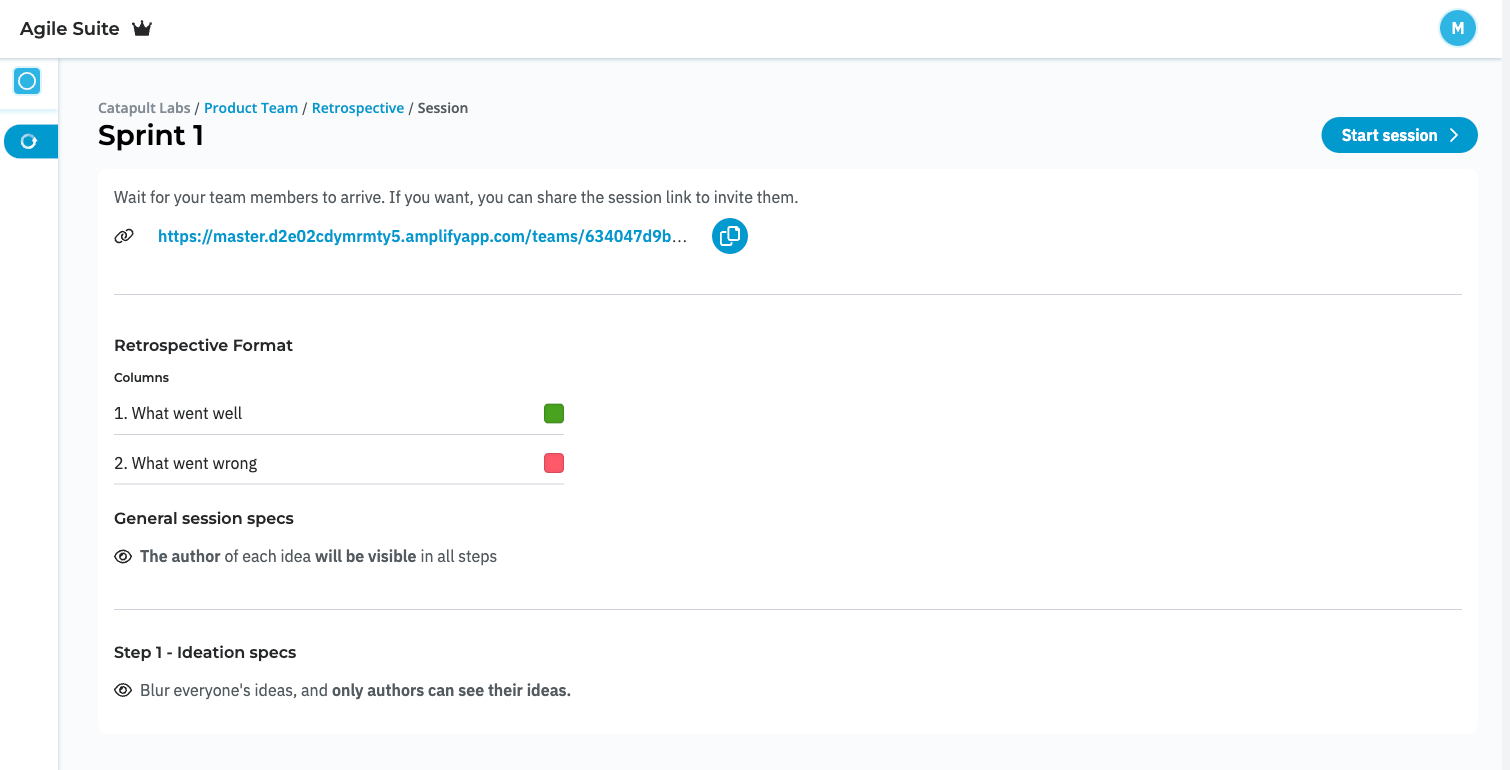
- Make sure to invite your team mates to the session. You can copy the link and share it to them.
- Click on "Start session" to begin. Remember that only moderators have this enabled.
Step 1: Think
- In the Think step all participants share their ideas on what went well or wrong during the project or sprint. You can add ideas by typing them and hitting enter.
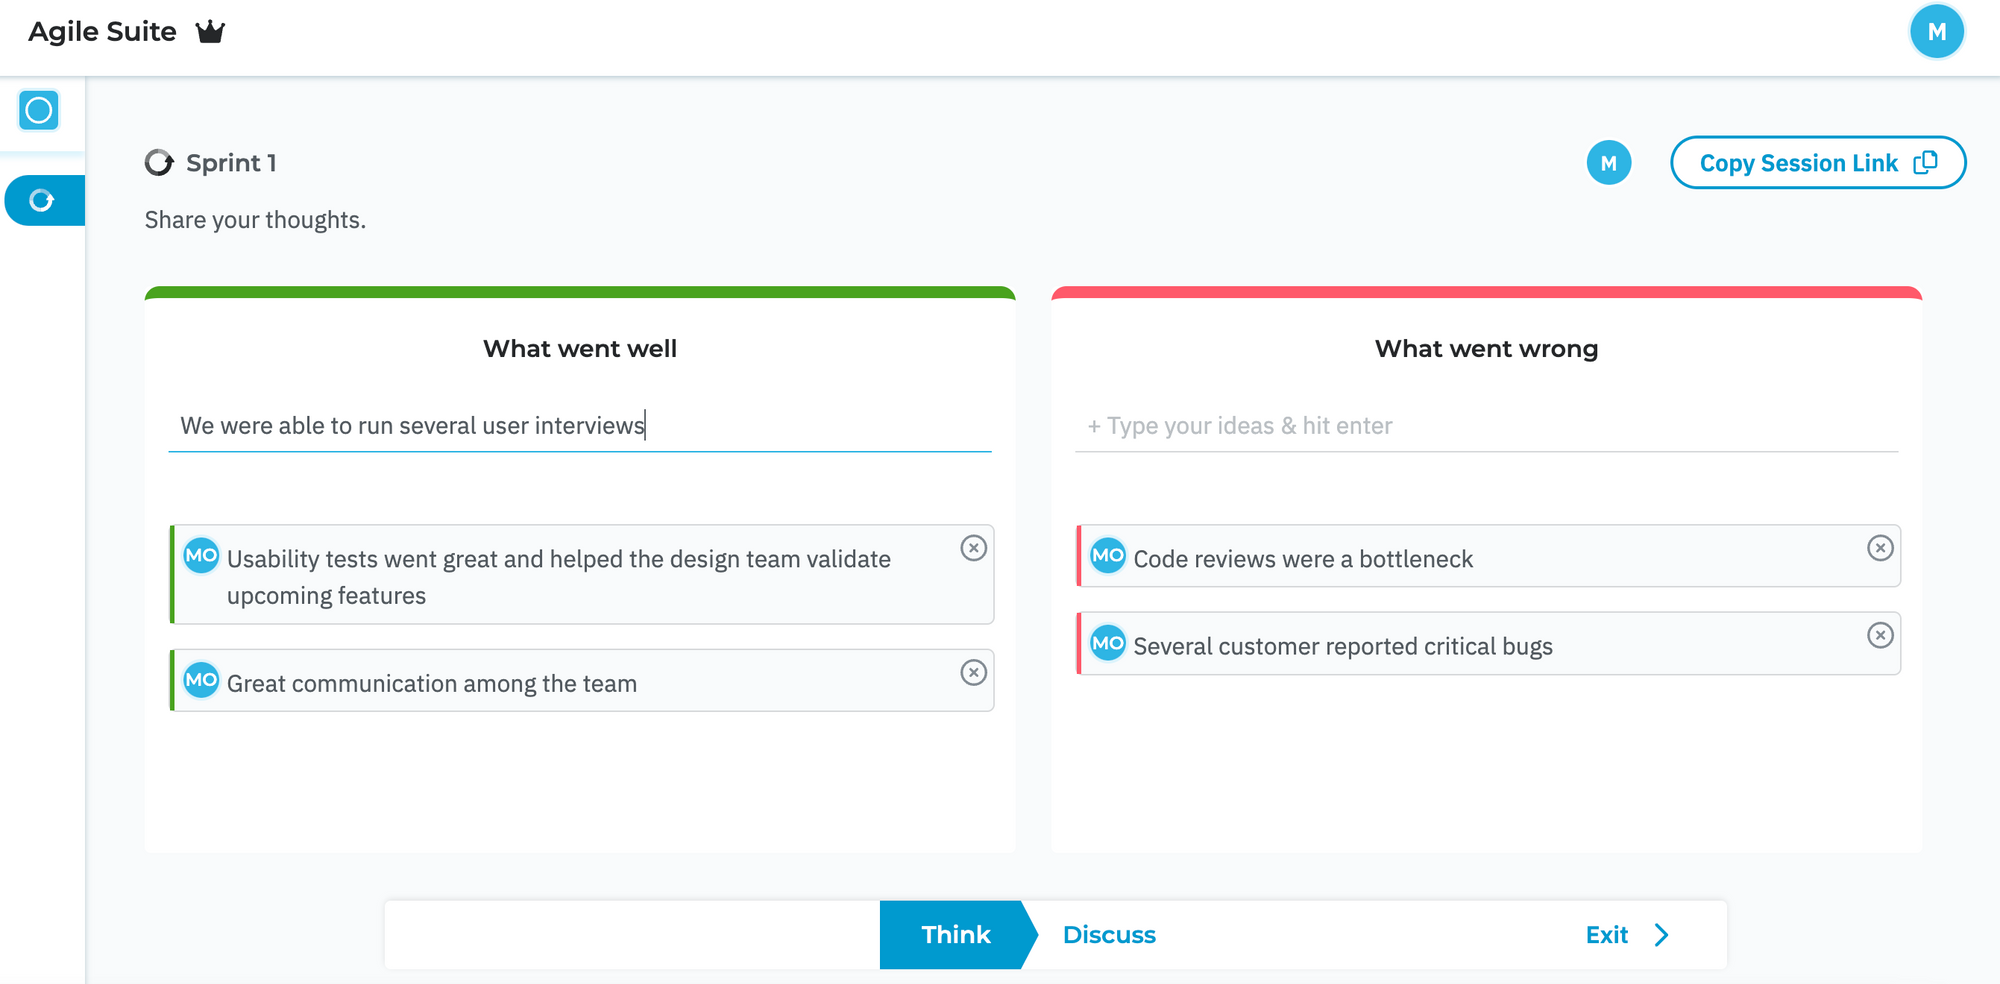
- You can delete your ideas by clicking on the "x" icon on each idea.
- Other participants' ideas will appear "blurred" in this step to avoid groupthink. However, they will all be displayed in the next step.
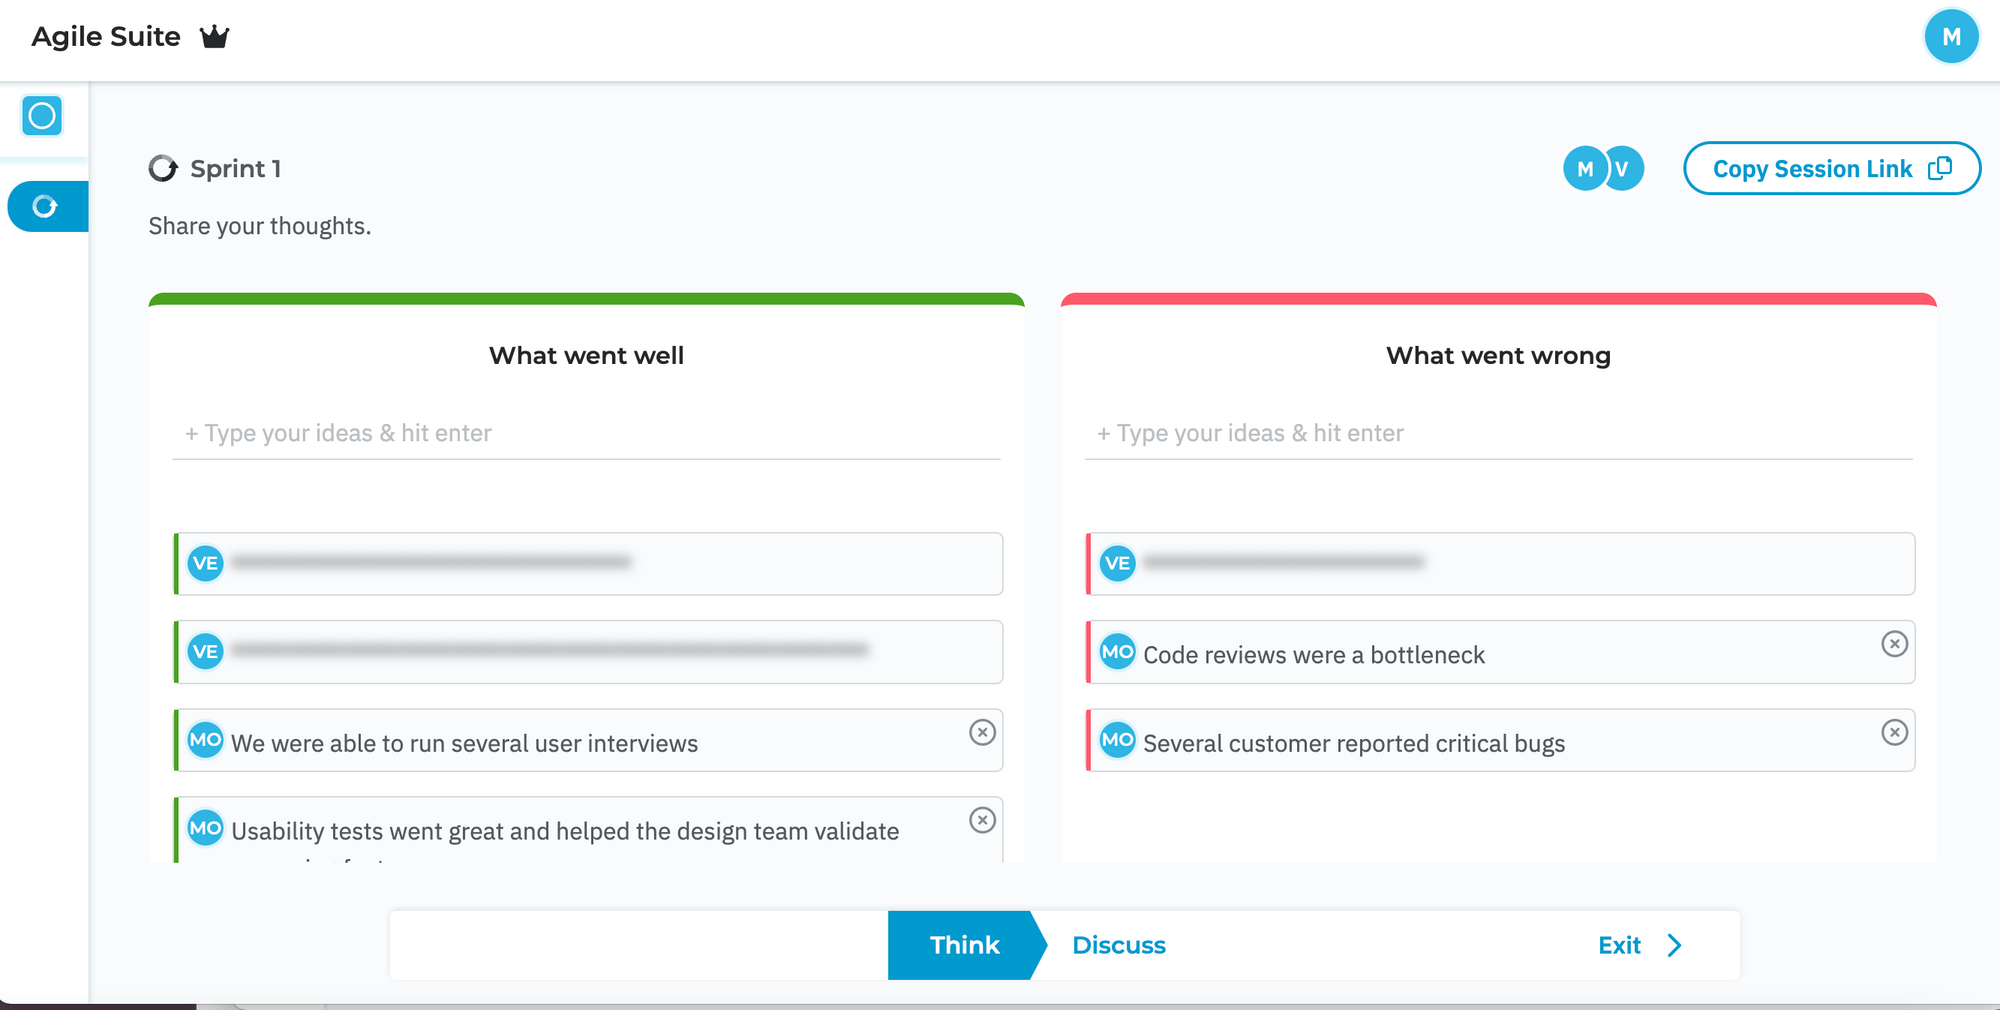
- Once everyone is done sharing ideas, the moderator can click on the next step "Discuss"
Step 2: Discuss
- In this step the objective is to review each idea, discuss it, and create action items together to improve.
- You can add action items by typing them and hitting enter. You can delete them by clicking on the "x" icon.
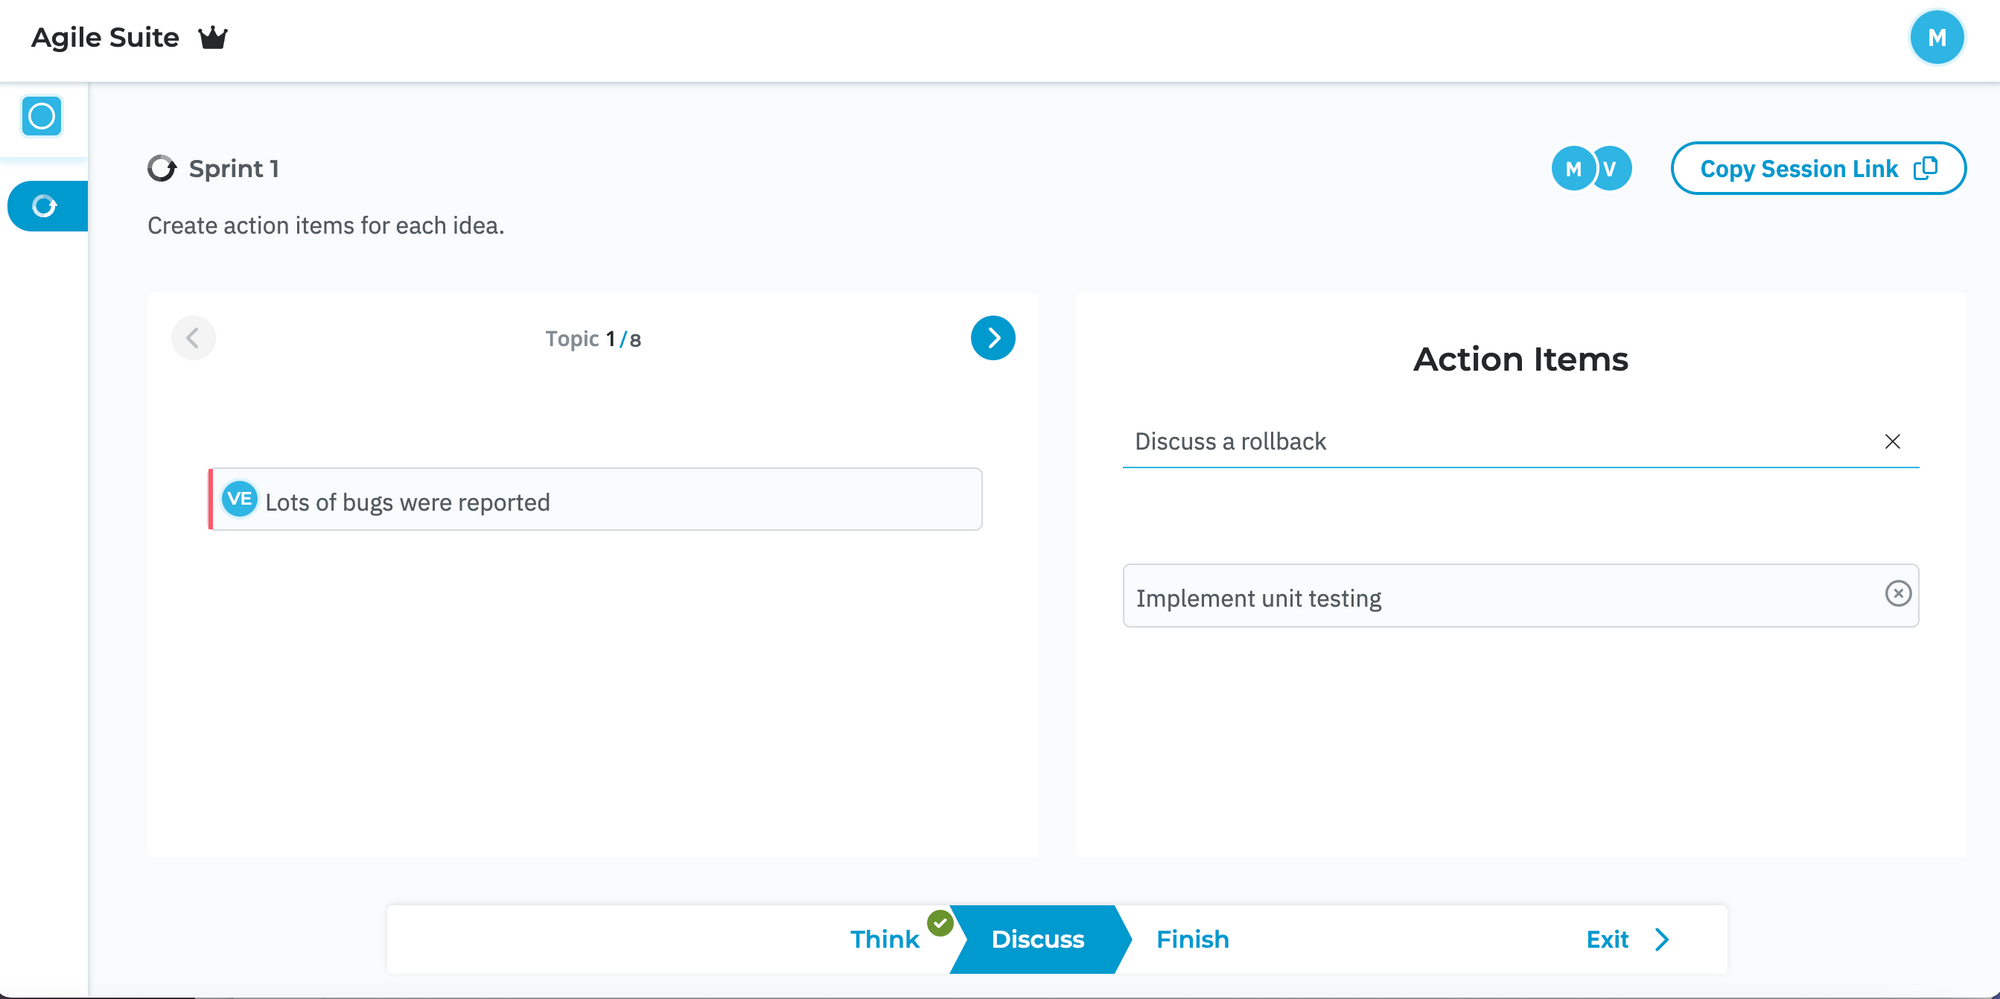
- The moderator can click on the arrows to advance through all the topics that need to be discussed.
- Once the team has created all necessary action items, the moderator can click "Finish" to end the session
Retrospective summary
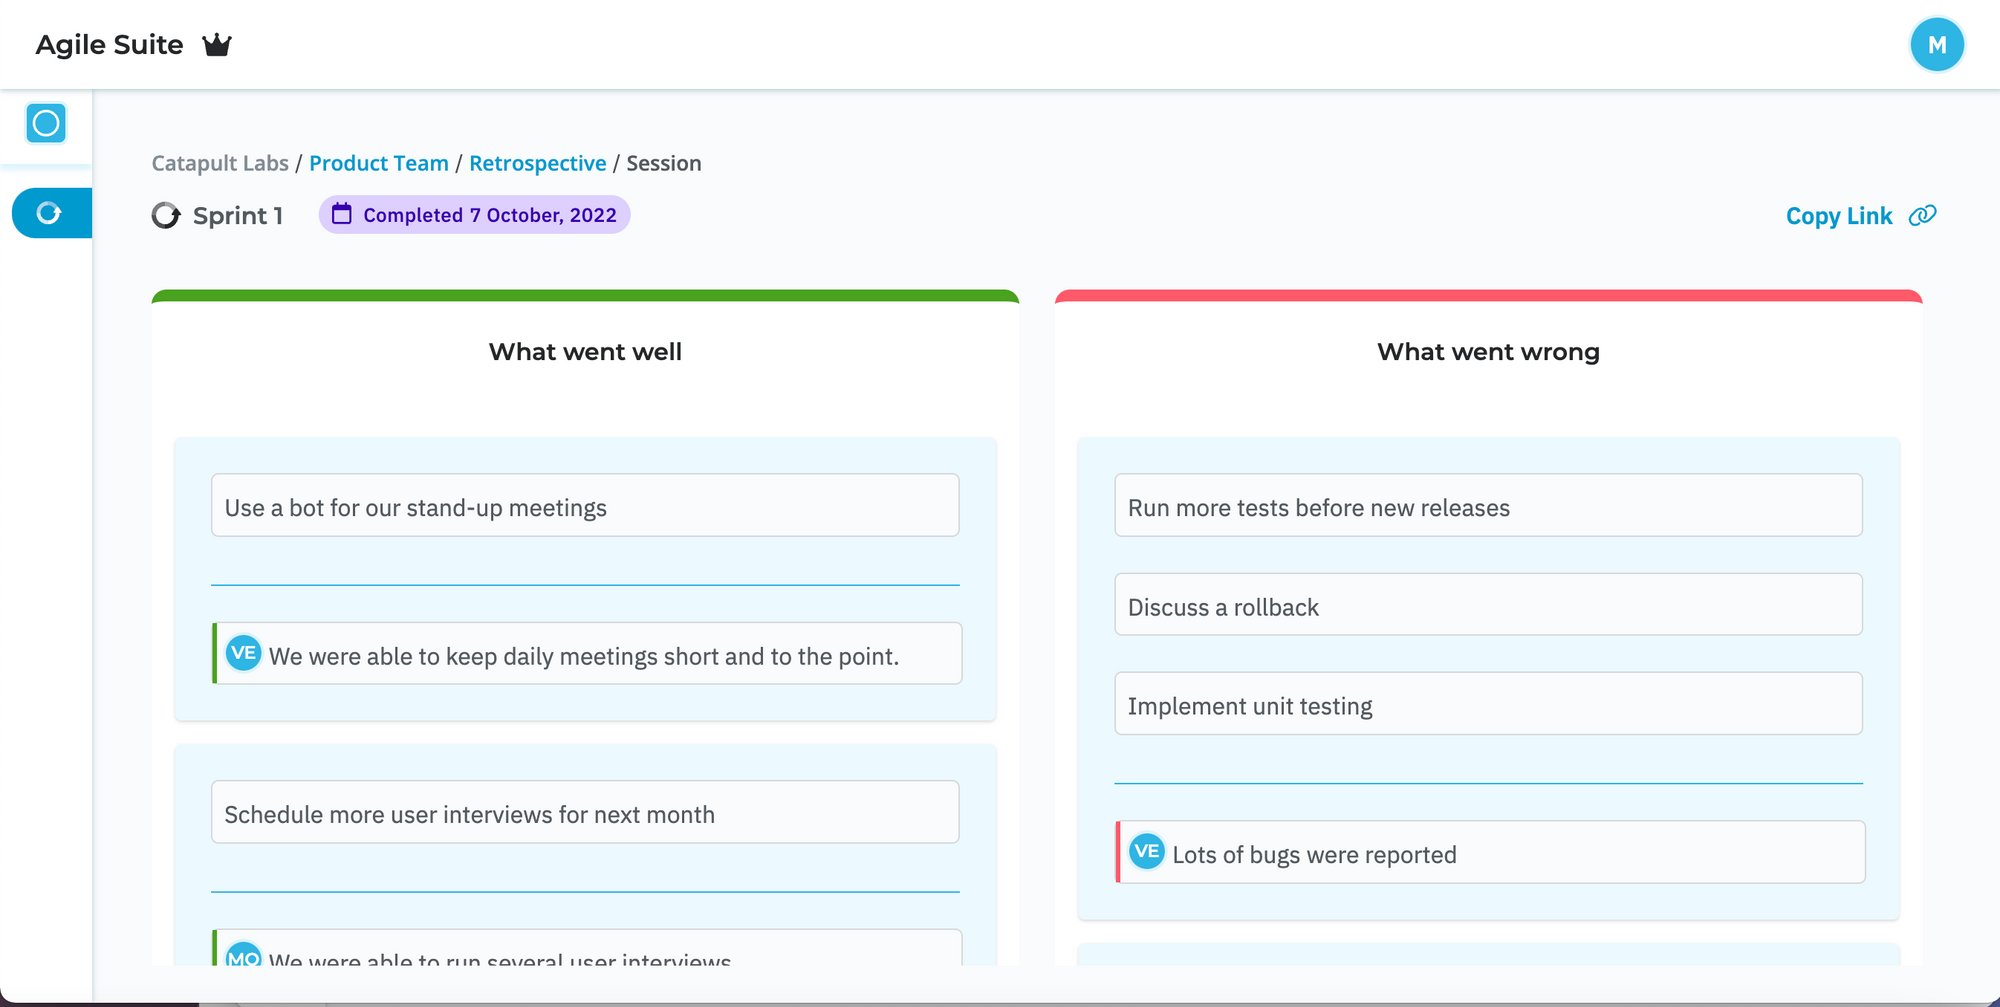
- The summary lets everyone see all the ideas and action items created for each one. The point is to be able to come back and see what actions need to be executed.
- If you return to the Dashboard, you will now see the session in the Completed section and see how many action items were created. You can revisit it anytime!
If you have any questions or feedback, don't hesitate to contact us!