In this page you’ll learn the steps to link your Slack workspace to your Jira Project so you can display Jira issues in Slack and add them to your status, as well as to automatically generate reports in your Jira Project.
StandBot and Jira installation
You can install the StandBot app from the Atlassian Marketplace by clicking the ‘Try if free’ button which will display the a confirmation modal or request app if you're not the owner of the project in which you’re trying to install StandBot.
You will know when installation is ready as Atlassian marketplace would display a success message at the button of the page.

Linking your Slack workspace to your Jira instance
It is recommended that you first install the Slack app in your workspace following the Quick installation guide for Slack before continue to the next steps.
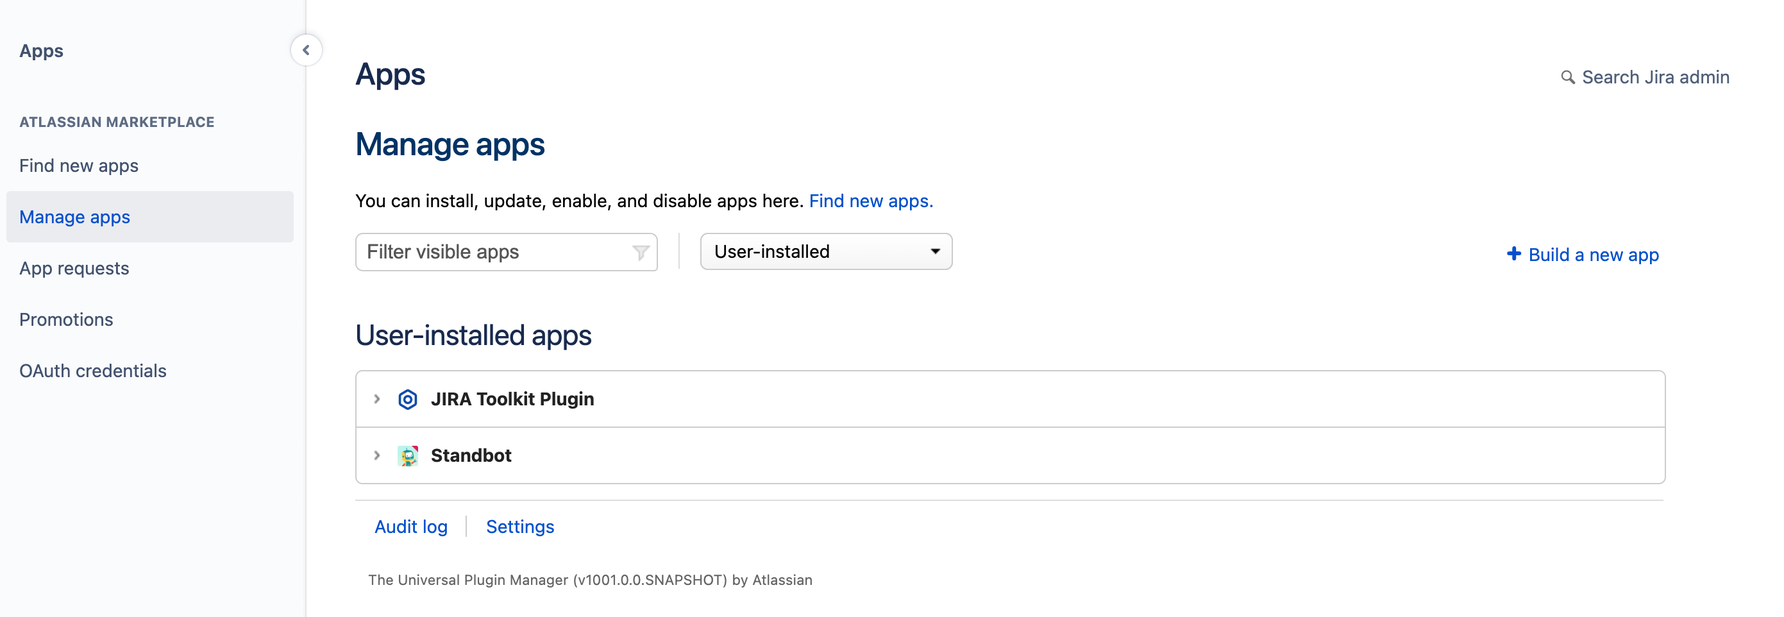
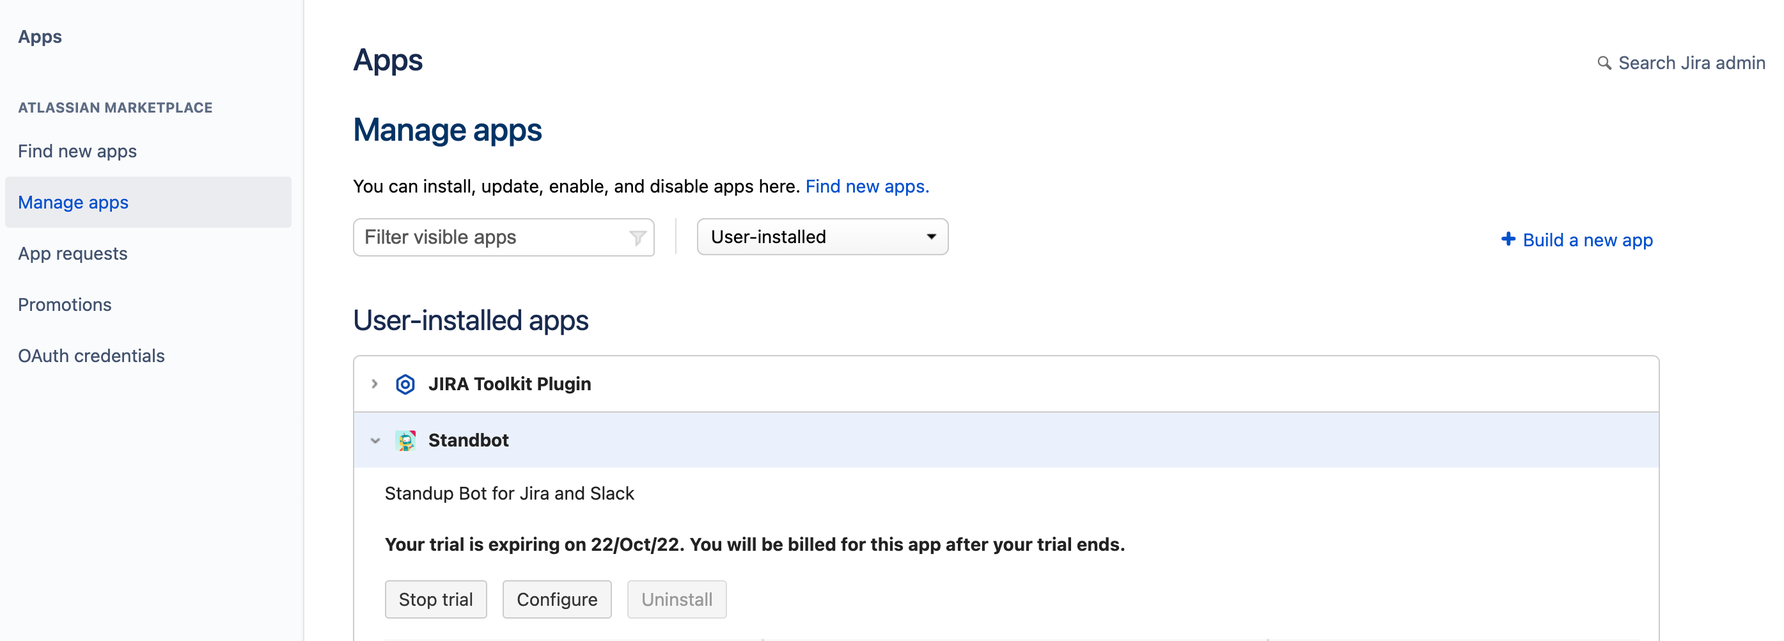
Once you've installed the app on your Jira instance, go to 'Apps' in the top menu.

In the left menu click on 'Manage apps' option where you will find the Stand-Bot listed.
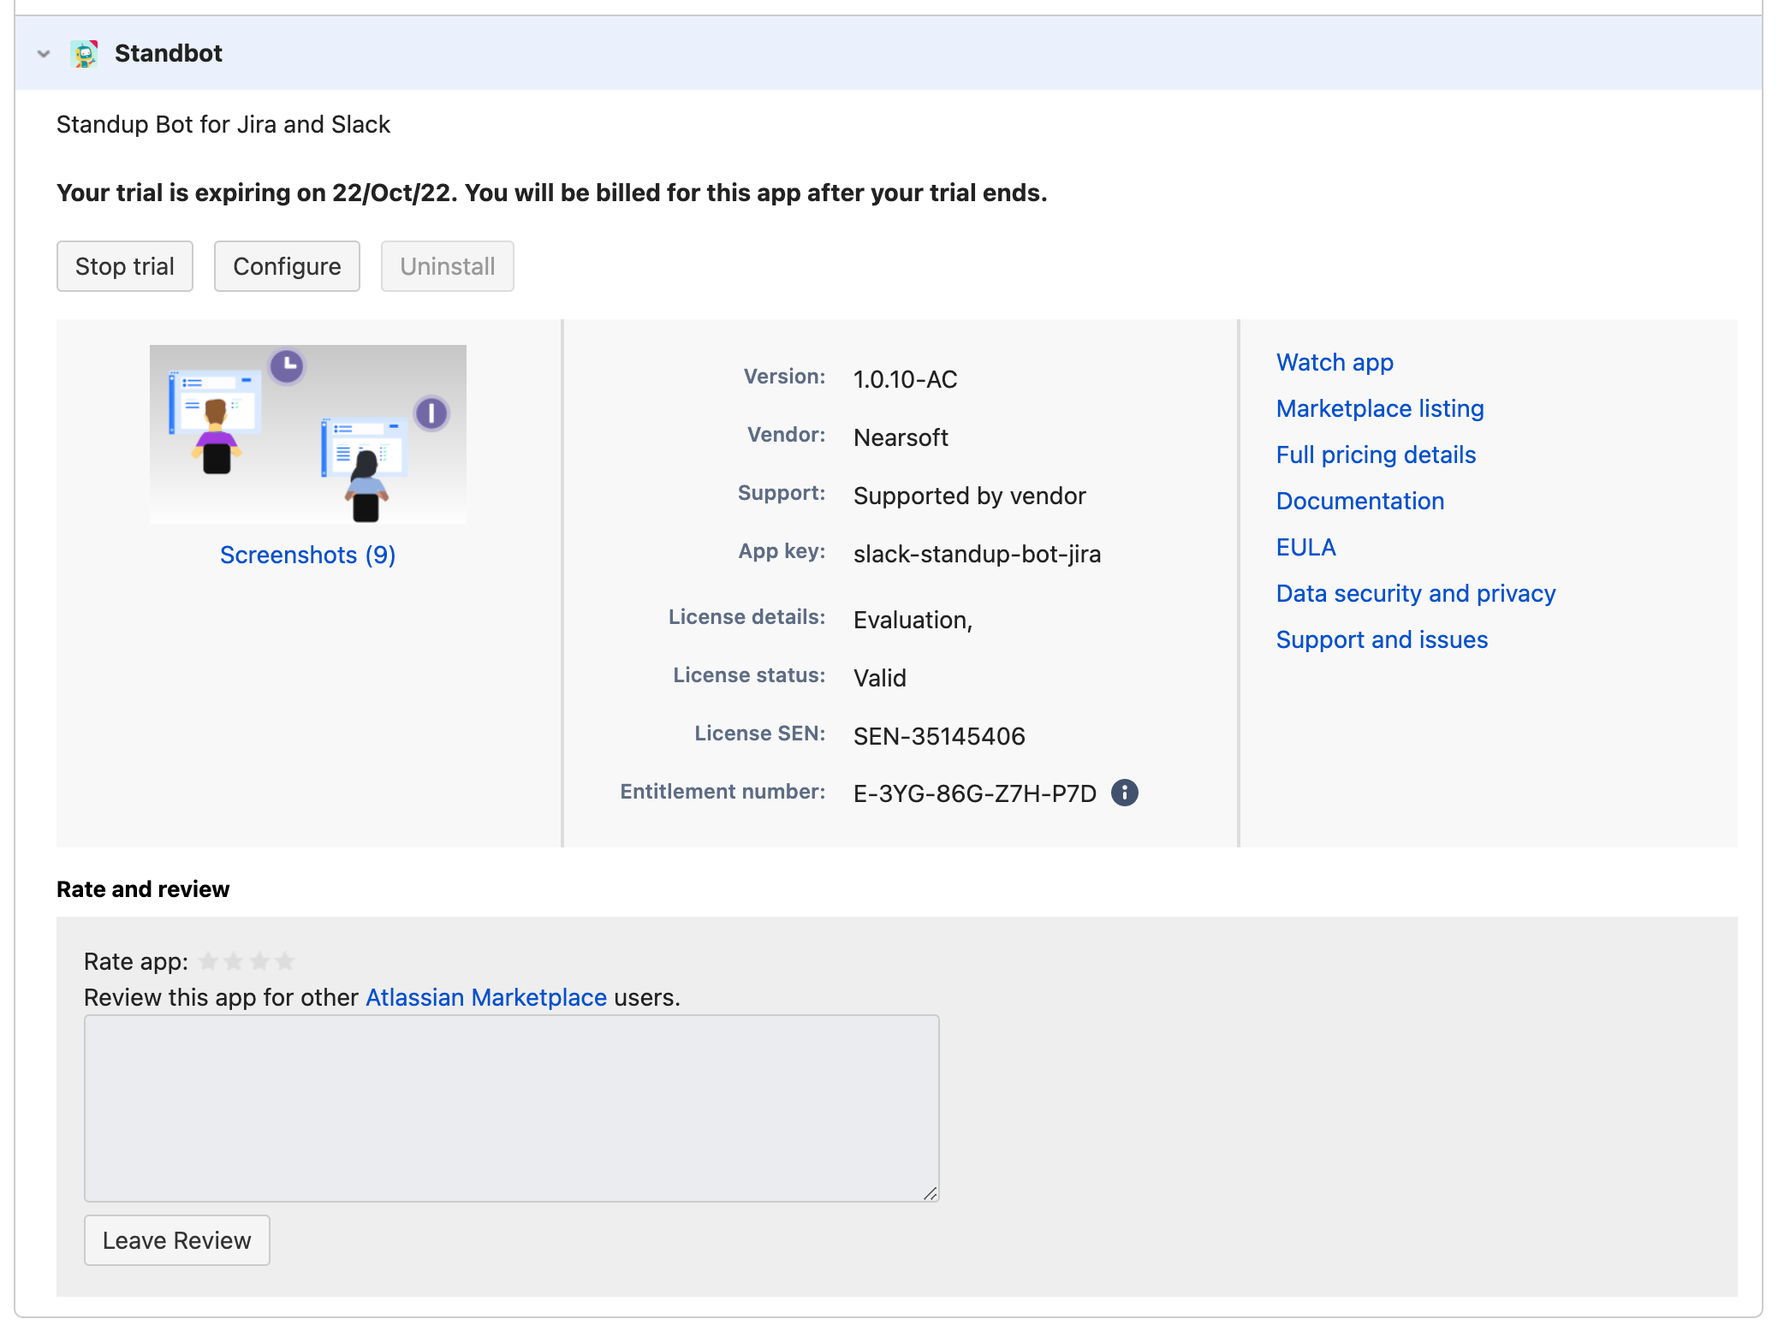
Click on the Stand-Bot listed app to expand the details, and then click on the 'Configure" button to link your Jira instance to your Slack workspace.
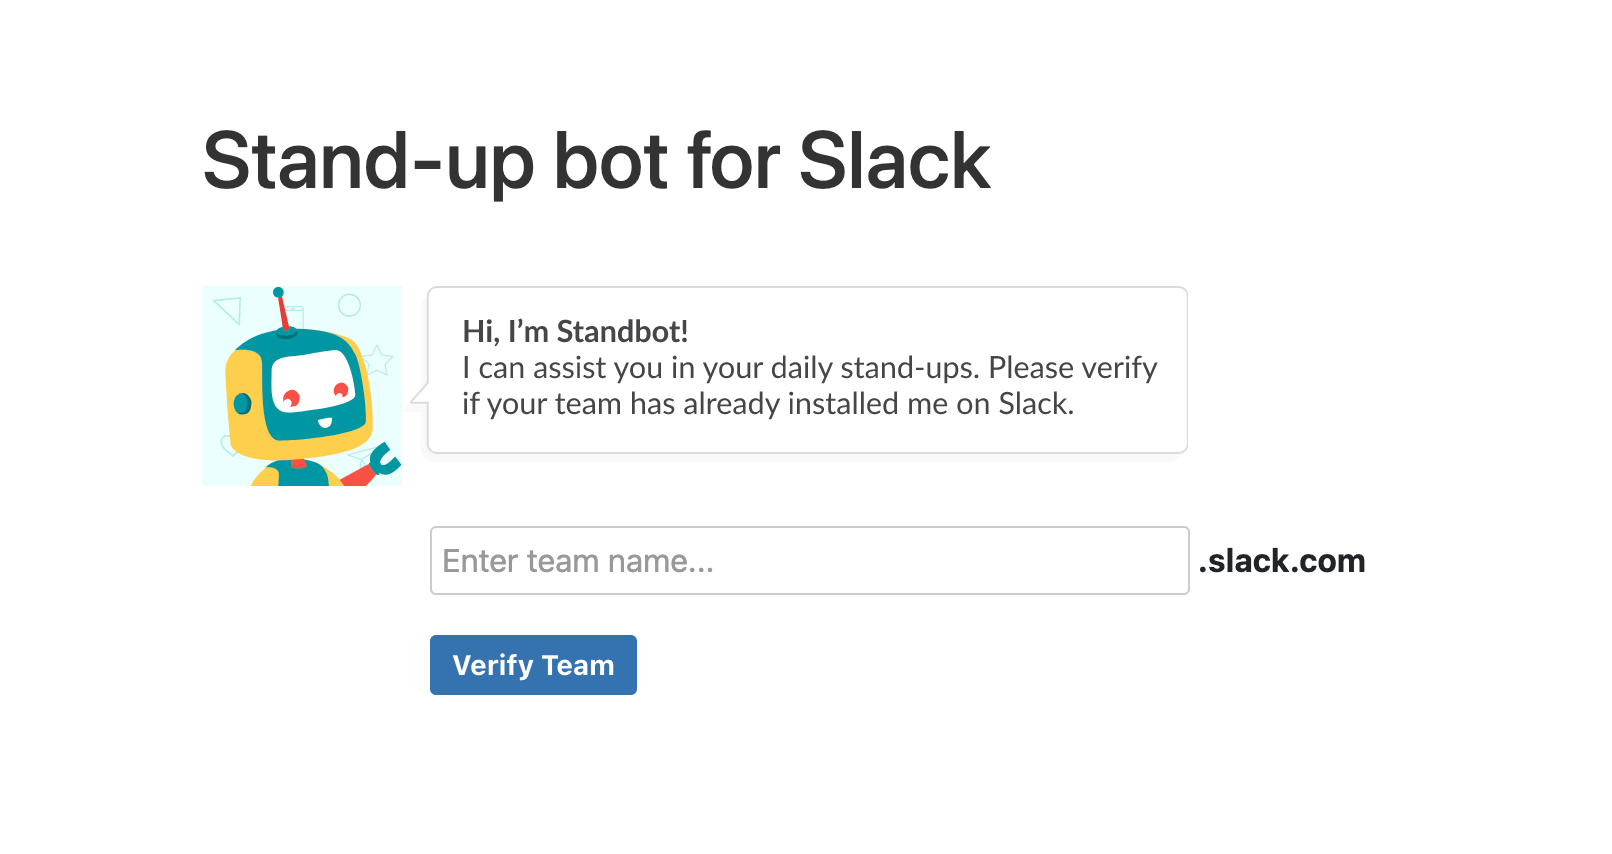
After clicking on the 'Configure' button you'll be sent to the Verification Team page in which you must input the link of your Slack workspace and click on "Verify Workspace". This may take a few seconds, don't worry if it takes a bit after clicking on the Verify Team button.
Remember, you should have StanBot already installed in your Slack workspace for this verification to work.
Right after the verification, you'll see a confirmation message if the verification goes smoothly.
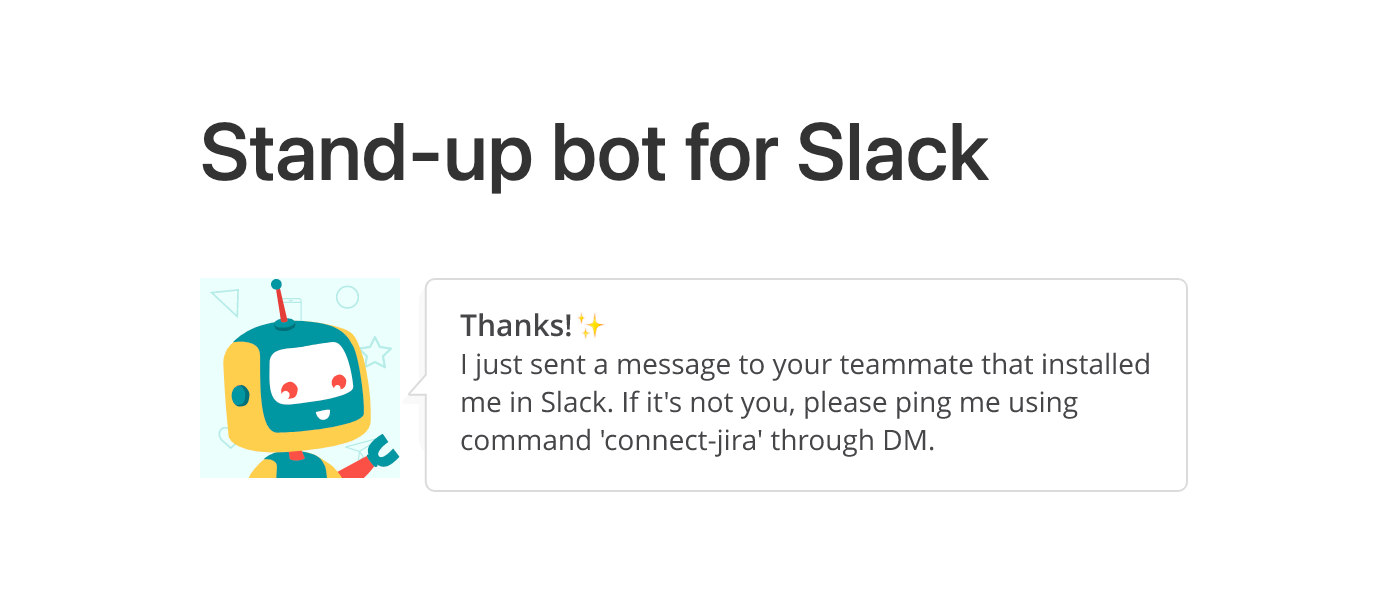
If you installed StanBot in Slack, it will send you the following message through Direct Message:

Note: If someone else from your workspace installed Stand-Bot on Slack, use the command "connect-jira" through DM with Stand-bot. It will prompt the Jira connection flow.
This link will send you to the confirmation page in Jira, and after clicking on "Confirm", your Jira instance would be linked with your Slack workspace.

You should see a success message at the end of the flow, confirming that everything went well. And now, you’ll be able to match your Jira projects with your #channels in Slack.

Matching Jira projects to Slack channels
Once you've linked Jira to your Slack workspace and created your stand-ups in Slack channels, you can go back to the 'Manage Apps' section, click on the StandBot element, and click on the Configure button.
This time, you'll be taken to this screen where you'll see all the channels in Slack with configured stand-ups.
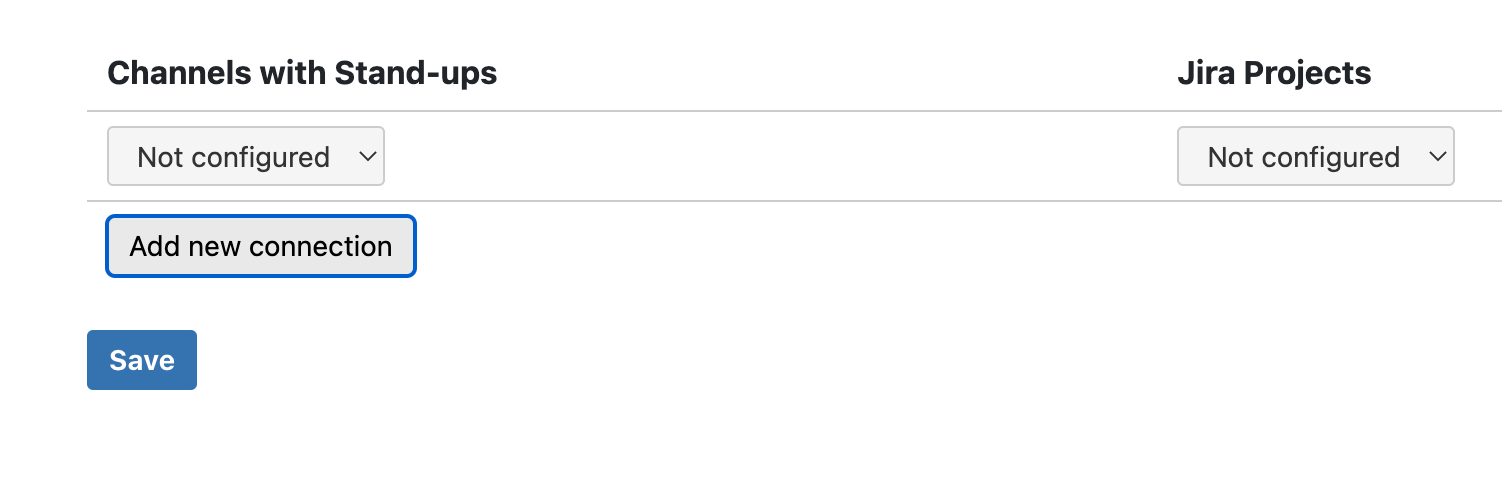
To match a Project to a Channel, open the menu on the Channel you want to configure and select the Jira project you'd like to link to it.

Once you're done matching Projects to Channels click on "Save". You will now be able to save your Stand-up Reports inside your Jira projects and see your Jira tickets when giving your status.
Now you'll just need to get your team to verify their accounts, so they can also add Jira issues, and review the reports in Jira.
Verifying teammates' Jira users
Whenever you match a Jira Project to a Slack channel with a running stand-up, the bot will send a message to the channel's members. They will need to click on "Yes". Once they do, they'll see a link that reads "Verify your Jira account".
They need to click on it to be taken to Jira, where they will see the following screen:

- They'll have to click on "Confirm" and once they do, they'll see the following screen and will be able to see their Jira tickets when giving their stand-up status.